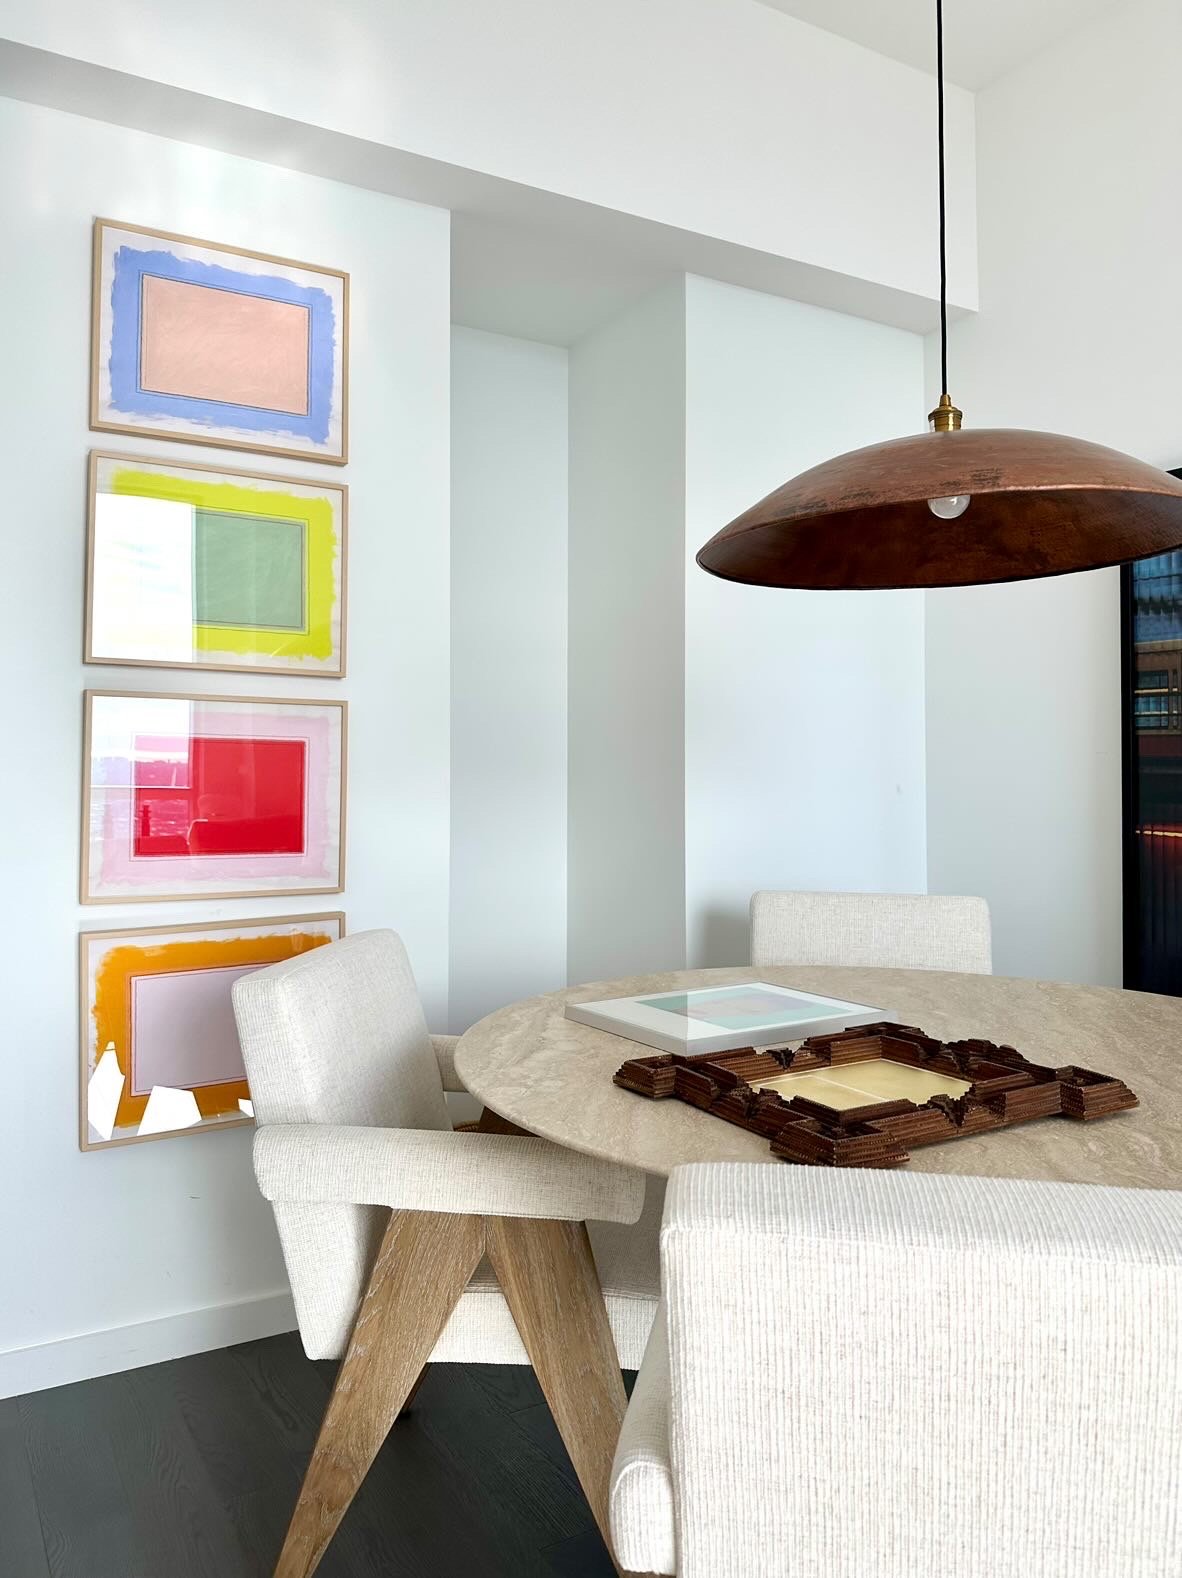
How To Hang Your Gallery Wall In 5 Steps
Here’s how to hang your gallery wall print set in 5 simple steps. This works for
framed prints and wired originals.
1. Trace each frame on a piece of kraft paper (careful to avoid marking the frame itself) and cut out the paper templates.
2. Custom frames are wired individually by hand, so the wire may rest at a slightly different height for each. Here’s a tip for making sure the heights are aligned:
Standing the frame up on a table, hook the end of a tape measure onto the wire and pull taught.
Measure the length from the tip of the taught wire to the top of the frame.
Then use a pencil to mark a spot on your paper template that’s the same length down from the top (and centered). Repeat for each frame.
3. Arrange and tape your paper templates to the wall where you would like the frames to go. A good rule of thumb is to space them 2 - 3 inches apart.
4. Once your templates are arranged, hammer a nail and picture hanger through each one at the spot you marked in step 2.
5. Tear away the paper and hang your frames on the picture hangers.
Explore EKS Art


